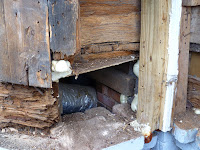
All of the residential historic district of Americus is on the National Register, so, all work done to any structure or property in our neighborhood has to be approved by the Historic Preservation Commission. There was reluctance to allow us to remove the old siding, but, as you can see in these photos, we would not have been able to address potentially serious structural problems which were hidden from view. The prior photos showed previous fire damage. These photos highlight the wood rot and termite (old) issues that were underneath the siding. Remember to click the photos for a larger view. You can see in this photo that the supporting beam has significant damage.  Another area with damage.

 I was totally surprised by the beautiful wood under the bay windows. It was the back side of the baseboards in the dining room. It became very clear how important insulation was going to be for energy conservation.
 With all the damage to the main beam, we had to cut out the rotten parts and replace it.
 Another area in need of attention.
 Another view of the surrounding wood.
 The guys had to get under the house to jack it up while they worked on the supports. (If you click you can see one of them under the house "cheesing" for the camera.)
 Almost the entire length of the living room needed replacement.
 And the bricks were in need of fresh mortar on the foundation.
 Here, the bad wood has been removed along with the crumbling bricks.
 A side view of the same area. You can see why this project is taking longer than expected.
 The fresh wood has been installed.
 You can't get timbers the size they used in 1847 to replace the original beams. Here is a side view demonstrating how they filled in the space from 1 single beam. That was a huge piece of wood!
 Underneath the bay windows, the insulation was placed. You can see the new wood replacement to the right, old wood from center under the windows.
 After the insulation was finished, the entire thing was covered with OSB.
 I hope you are getting a feel for the speed (or lack of) of this project. Obviously, the December project will be extended into January...
 Another area with damage.
 I was totally surprised by the beautiful wood under the bay windows. It was the back side of the baseboards in the dining room. It became very clear how important insulation was going to be for energy conservation.
 With all the damage to the main beam, we had to cut out the rotten parts and replace it.
 Another area in need of attention.
 Another view of the surrounding wood.
 The guys had to get under the house to jack it up while they worked on the supports. (If you click you can see one of them under the house "cheesing" for the camera.)
 Almost the entire length of the living room needed replacement.
 And the bricks were in need of fresh mortar on the foundation.
 Here, the bad wood has been removed along with the crumbling bricks.
 A side view of the same area. You can see why this project is taking longer than expected.
 The fresh wood has been installed.
 You can't get timbers the size they used in 1847 to replace the original beams. Here is a side view demonstrating how they filled in the space from 1 single beam. That was a huge piece of wood!
 Underneath the bay windows, the insulation was placed. You can see the new wood replacement to the right, old wood from center under the windows.
 After the insulation was finished, the entire thing was covered with OSB.
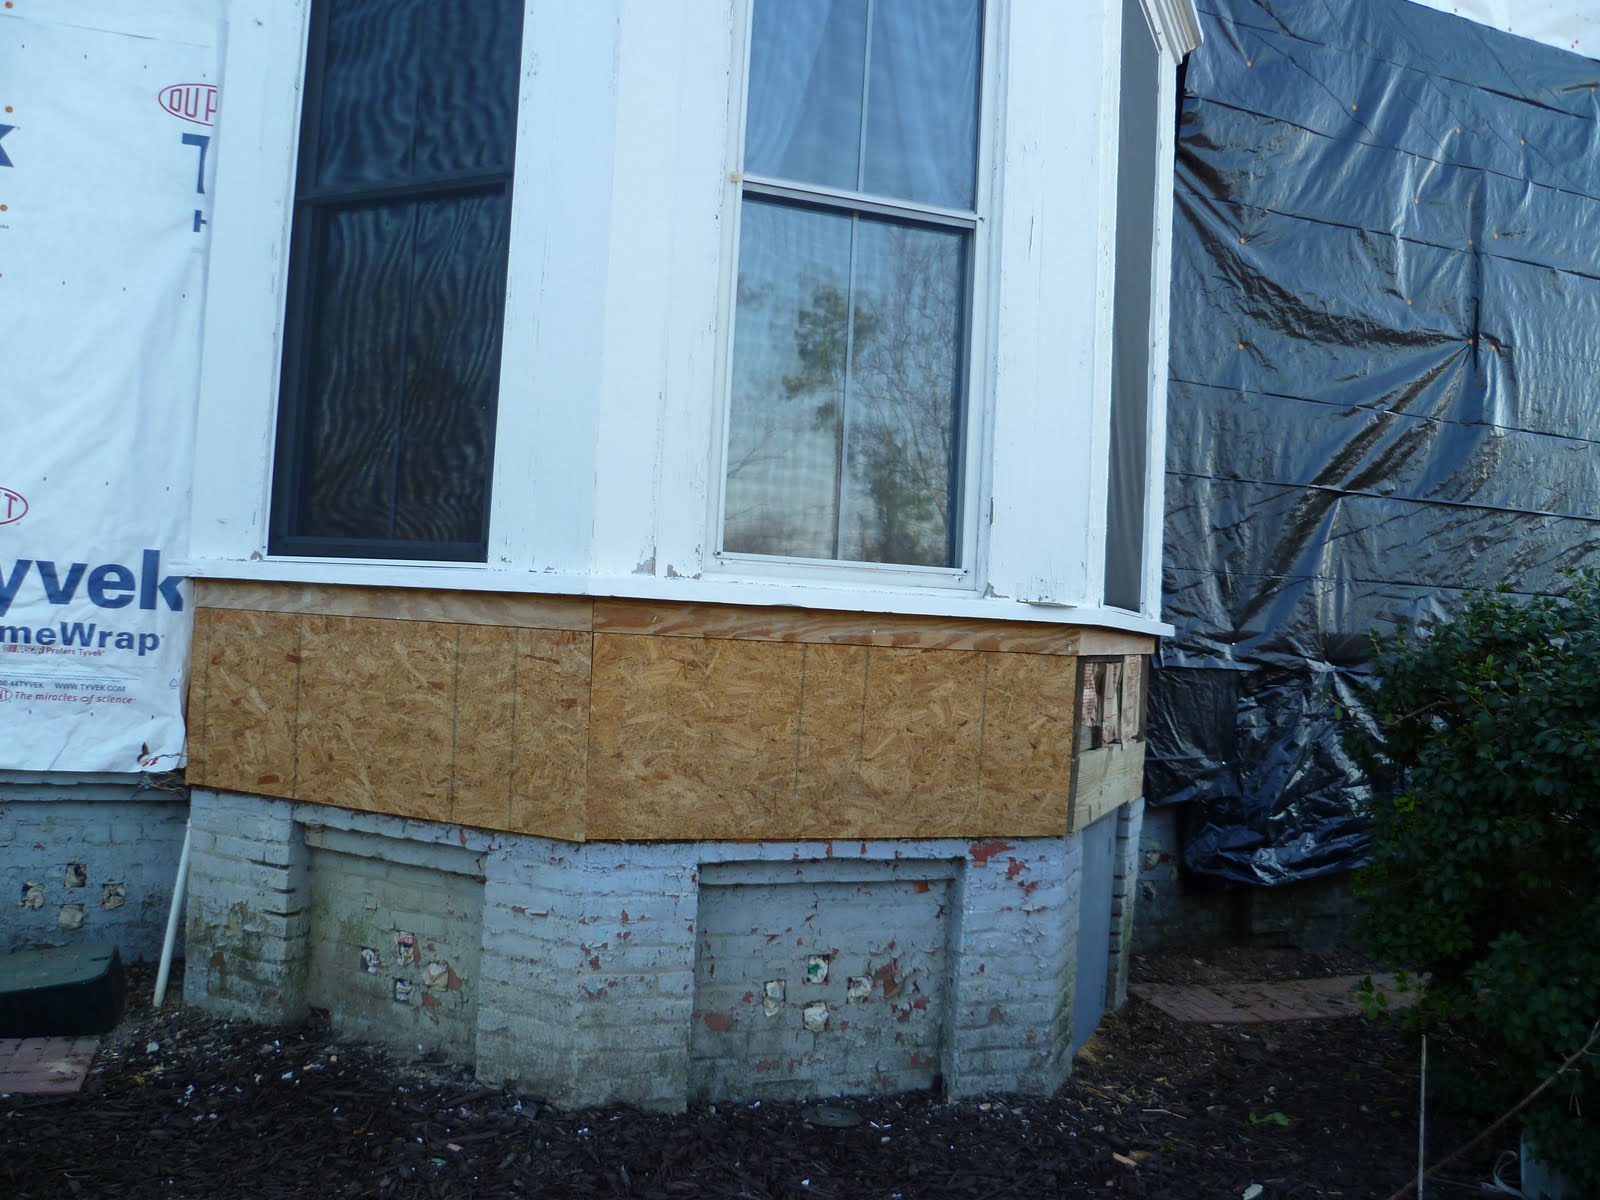 I hope you are getting a feel for the speed (or lack of) of this project. Obviously, the December project will be extended into January...
Although it was very cold this morning, the sun is shining and the wind has finally diminished. The crew did not work today. Our trim materials for the windows arrived today, so, maybe tomorrow they can get back on track.
Thanks for visiting the Americus Garden Inn blog. I'll share more of the project with you soon.


