It is a cold day here in Americus Georgia so I thought I'd start off with a warm thought - chocolate! Yesterday I made these delicious chocolate streusel muffins. They look scrumptious, don't you think? Today, I made baked pears. As it is going to be cold just about everywhere, I thought it might be a good time to share a warm fruit recipe. You can use almost any variety of pears, I used d'anjou today.
 Preheat the oven to 350 degrees. Cut the pears in half.
 Using a melon baller, remove the seeds.
 Also, remove the stem.
 In a baking dish large enough to hold the number of pears you are baking in one layer, sprinkle some brown sugar. I don't use a specific amount. I just barely cover the bottom of the pan. Then, just sprinkle a little cinnamon on top of the brown sugar. Place the pear half cut side down onto the brown sugar/cinnamon.
 I made 6 halves today.
 Pour some orange juice over the pears. You want to cover the bottom of the pan by about 1/4 - 1/2 inch.
 Dot the pears with a little butter.
 Bake at 350 degrees until they are somewhat soft when you squeeze them gently. The skins will shrivel slightly when they are done. They will not be mushy soft, just fork tender. Depending on the ripeness of the pear, it can take anywhere from 25 minutes to 45 minutes. I check them at 25 minutes and then every 5 minutes after that. These were not ripe and took 40 minutes.
 You see all that juice in the bottom of the pan? That will make a delicious sauce to go over the top of the pears. You can reduce the juice in one of two ways: in the microwave or on the stove top. If you do it in the microwave, make sure the measuring cup is much larger than the amount of juice. When it starts boiling in the microwave, it will expand in the cup and may boil over.
 I decided to do the sauce on the stove today. I poured the juice into a sauce pan and allowed it to simmer until it reduced by about half. It will thicken up some, and will thicken even more as it cools. In the end, it is about the consistency of honey.
 Once the sauce is ready, let it sit for a few minutes. While you are waiting, you can prepare the pears for presentation and serving. I slice them into 4 or 5 pieces.
 Fan the slices in a small bowl or plate and drizzle the luscious sauce over the top.
 The finished plate - baked pears ready to enjoy.

The December 2010 - January 2011 project is continuing on its slow pace. On Friday, the crew continued working on the north side of the house.
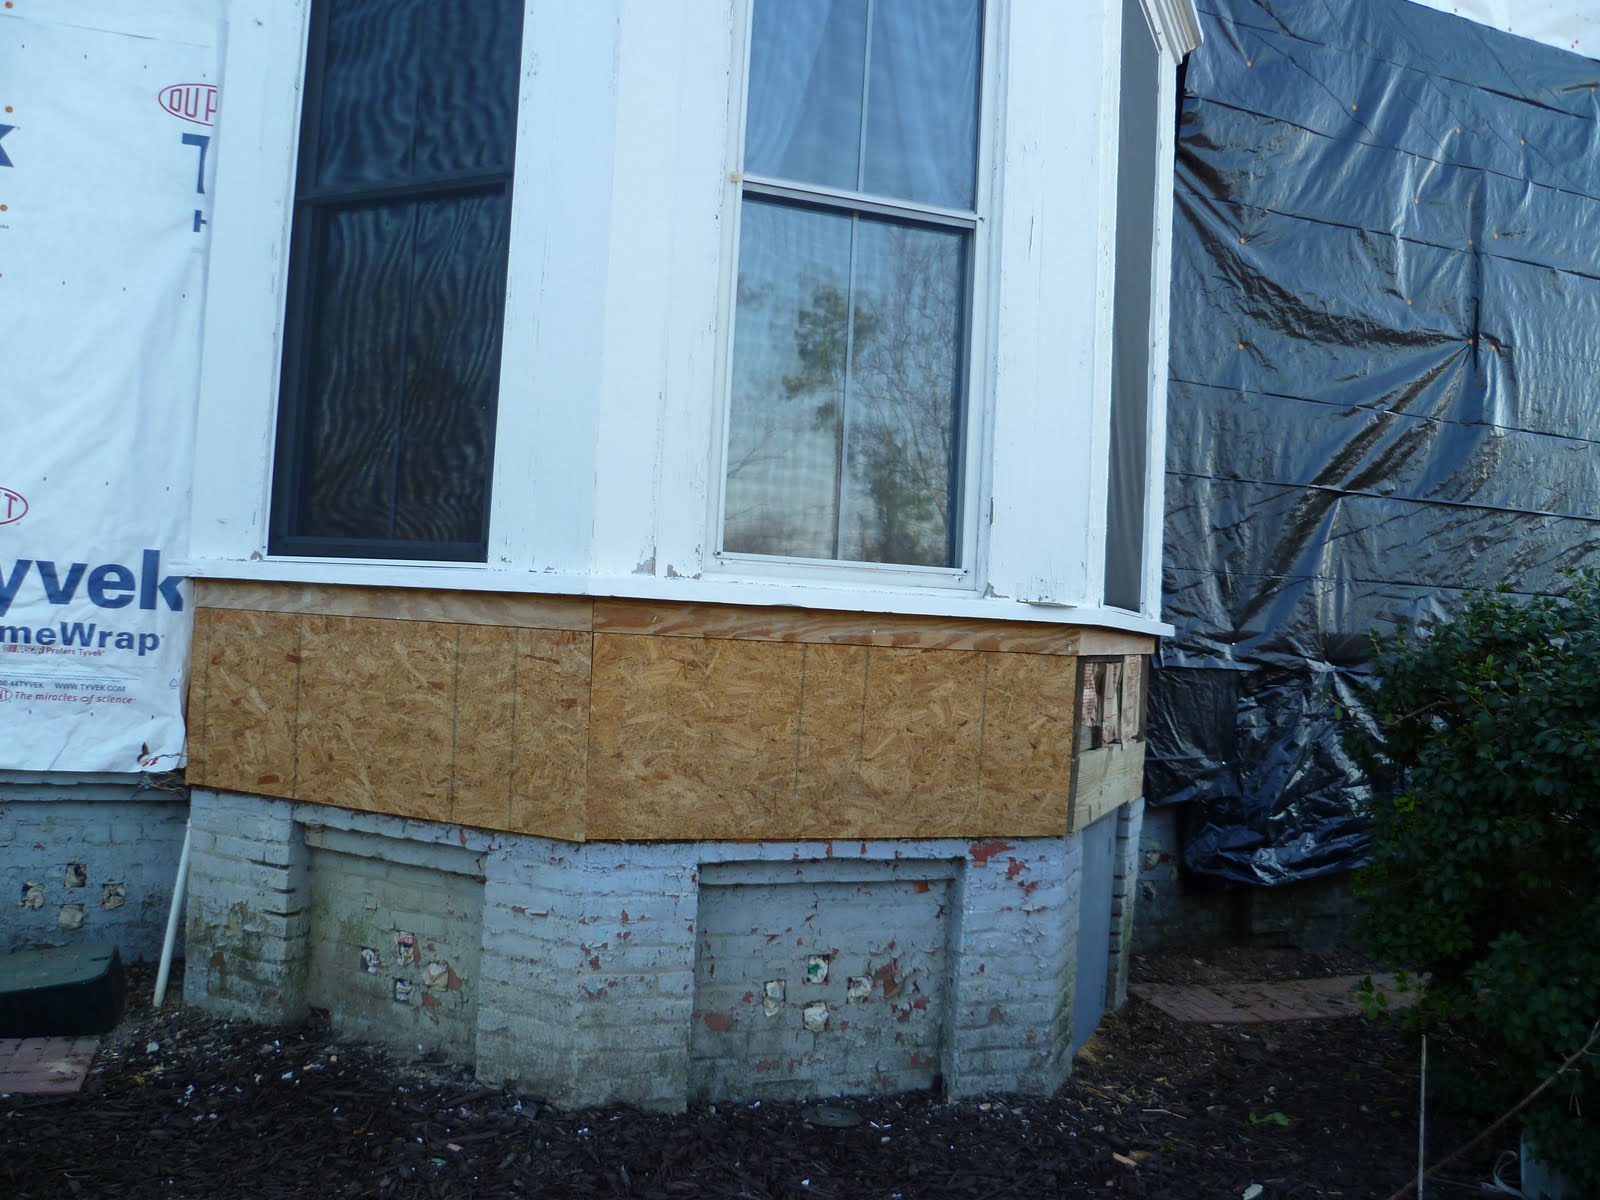
 They started at the bottom replacing the siding. Kim has already painted the siding so all it will need is some touch up as they go along. What you see is the exterior wall of the living room.
 Work also continued on the window trim of the bay windows to the dining room.
 By about 2:00 in the afternoon, they had finished halfway up the windows.
 Kim was supervising the men and checking the progress of the work.
 By Friday afternoon, they had the siding up to the top of the window.
 Thanks for visiting the Americus Garden Inn blog for the latest "events" here at the Americus Garden Inn. Hope your New Year is going great.
 Today, I made baked pears. As it is going to be cold just about everywhere, I thought it might be a good time to share a warm fruit recipe. You can use almost any variety of pears, I used d'anjou today.
 Preheat the oven to 350 degrees. Cut the pears in half.
 Using a melon baller, remove the seeds.
 Also, remove the stem.
 In a baking dish large enough to hold the number of pears you are baking in one layer, sprinkle some brown sugar. I don't use a specific amount. I just barely cover the bottom of the pan. Then, just sprinkle a little cinnamon on top of the brown sugar. Place the pear half cut side down onto the brown sugar/cinnamon.
 I made 6 halves today.
 Pour some orange juice over the pears. You want to cover the bottom of the pan by about 1/4 - 1/2 inch.
 Dot the pears with a little butter.
 Bake at 350 degrees until they are somewhat soft when you squeeze them gently. The skins will shrivel slightly when they are done. They will not be mushy soft, just fork tender. Depending on the ripeness of the pear, it can take anywhere from 25 minutes to 45 minutes. I check them at 25 minutes and then every 5 minutes after that. These were not ripe and took 40 minutes.
  You see all that juice in the bottom of the pan? That will make a delicious sauce to go over the top of the pears. You can reduce the juice in one of two ways: in the microwave or on the stove top. If you do it in the microwave, make sure the measuring cup is much larger than the amount of juice. When it starts boiling in the microwave, it will expand in the cup and may boil over.
 I decided to do the sauce on the stove today. I poured the juice into a sauce pan and allowed it to simmer until it reduced by about half. It will thicken up some, and will thicken even more as it cools. In the end, it is about the consistency of honey.
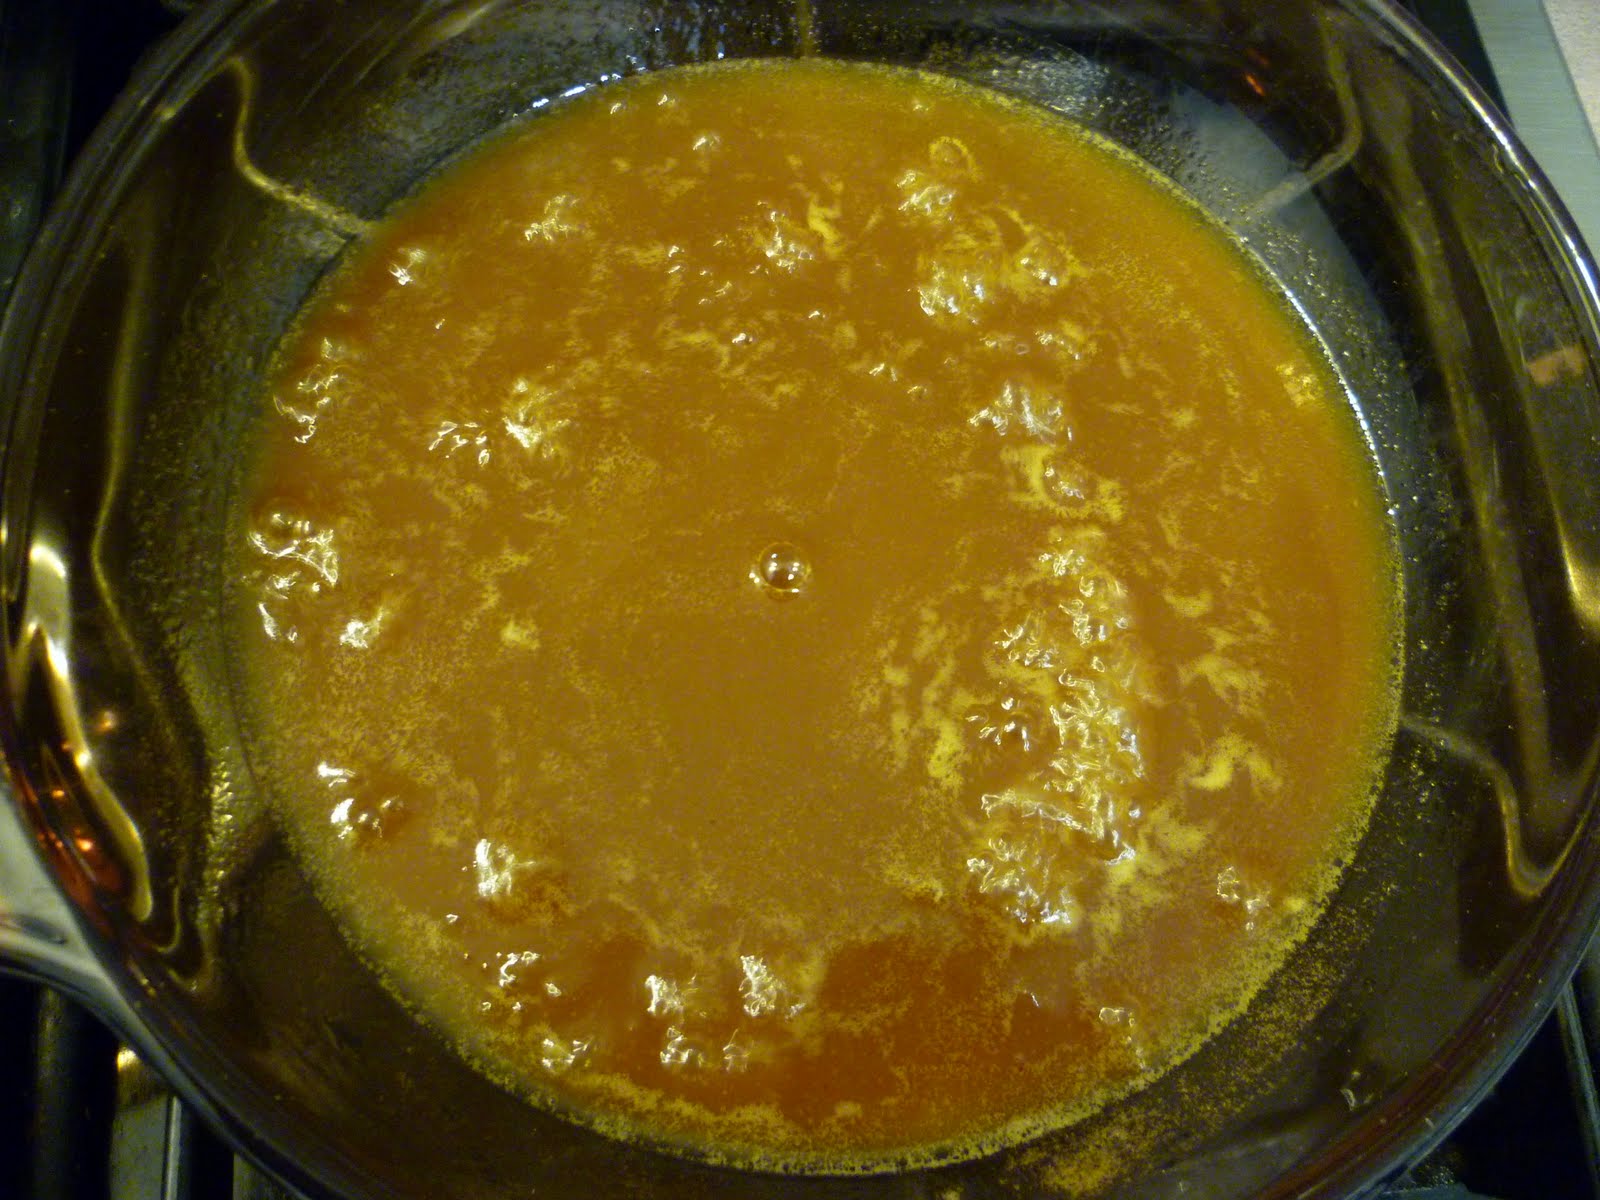 Once the sauce is ready, let it sit for a few minutes. While you are waiting, you can prepare the pears for presentation and serving. I slice them into 4 or 5 pieces.
 Fan the slices in a small bowl or plate and drizzle the luscious sauce over the top.
 The finished plate - baked pears ready to enjoy.
The December 2010 - January 2011 project is continuing on its slow pace. On Friday, the crew continued working on the north side of the house.
 They started at the bottom replacing the siding. Kim has already painted the siding so all it will need is some touch up as they go along. What you see is the exterior wall of the living room.
 Work also continued on the window trim of the bay windows to the dining room.
 By about 2:00 in the afternoon, they had finished halfway up the windows.
 Kim was supervising the men and checking the progress of the work.
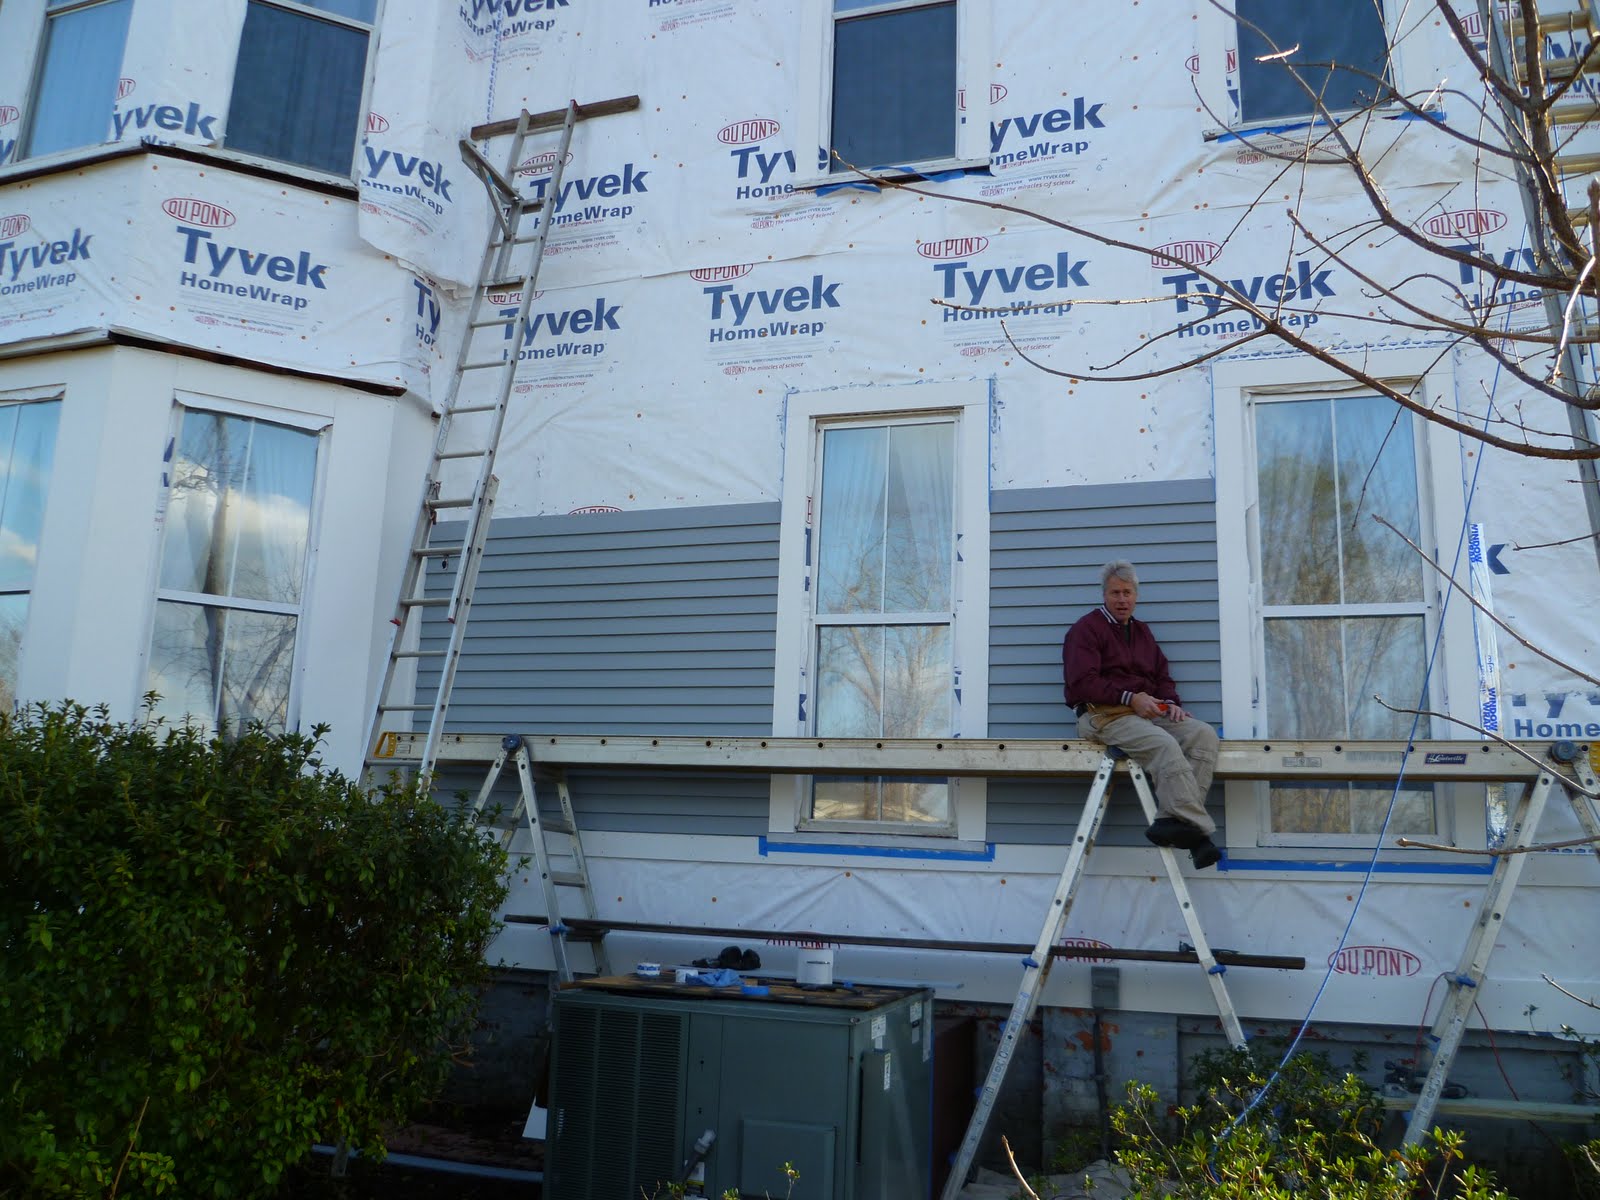 By Friday afternoon, they had the siding up to the top of the window.
 Thanks for visiting the Americus Garden Inn blog for the latest "events" here at the Americus Garden Inn. Hope your New Year is going great.